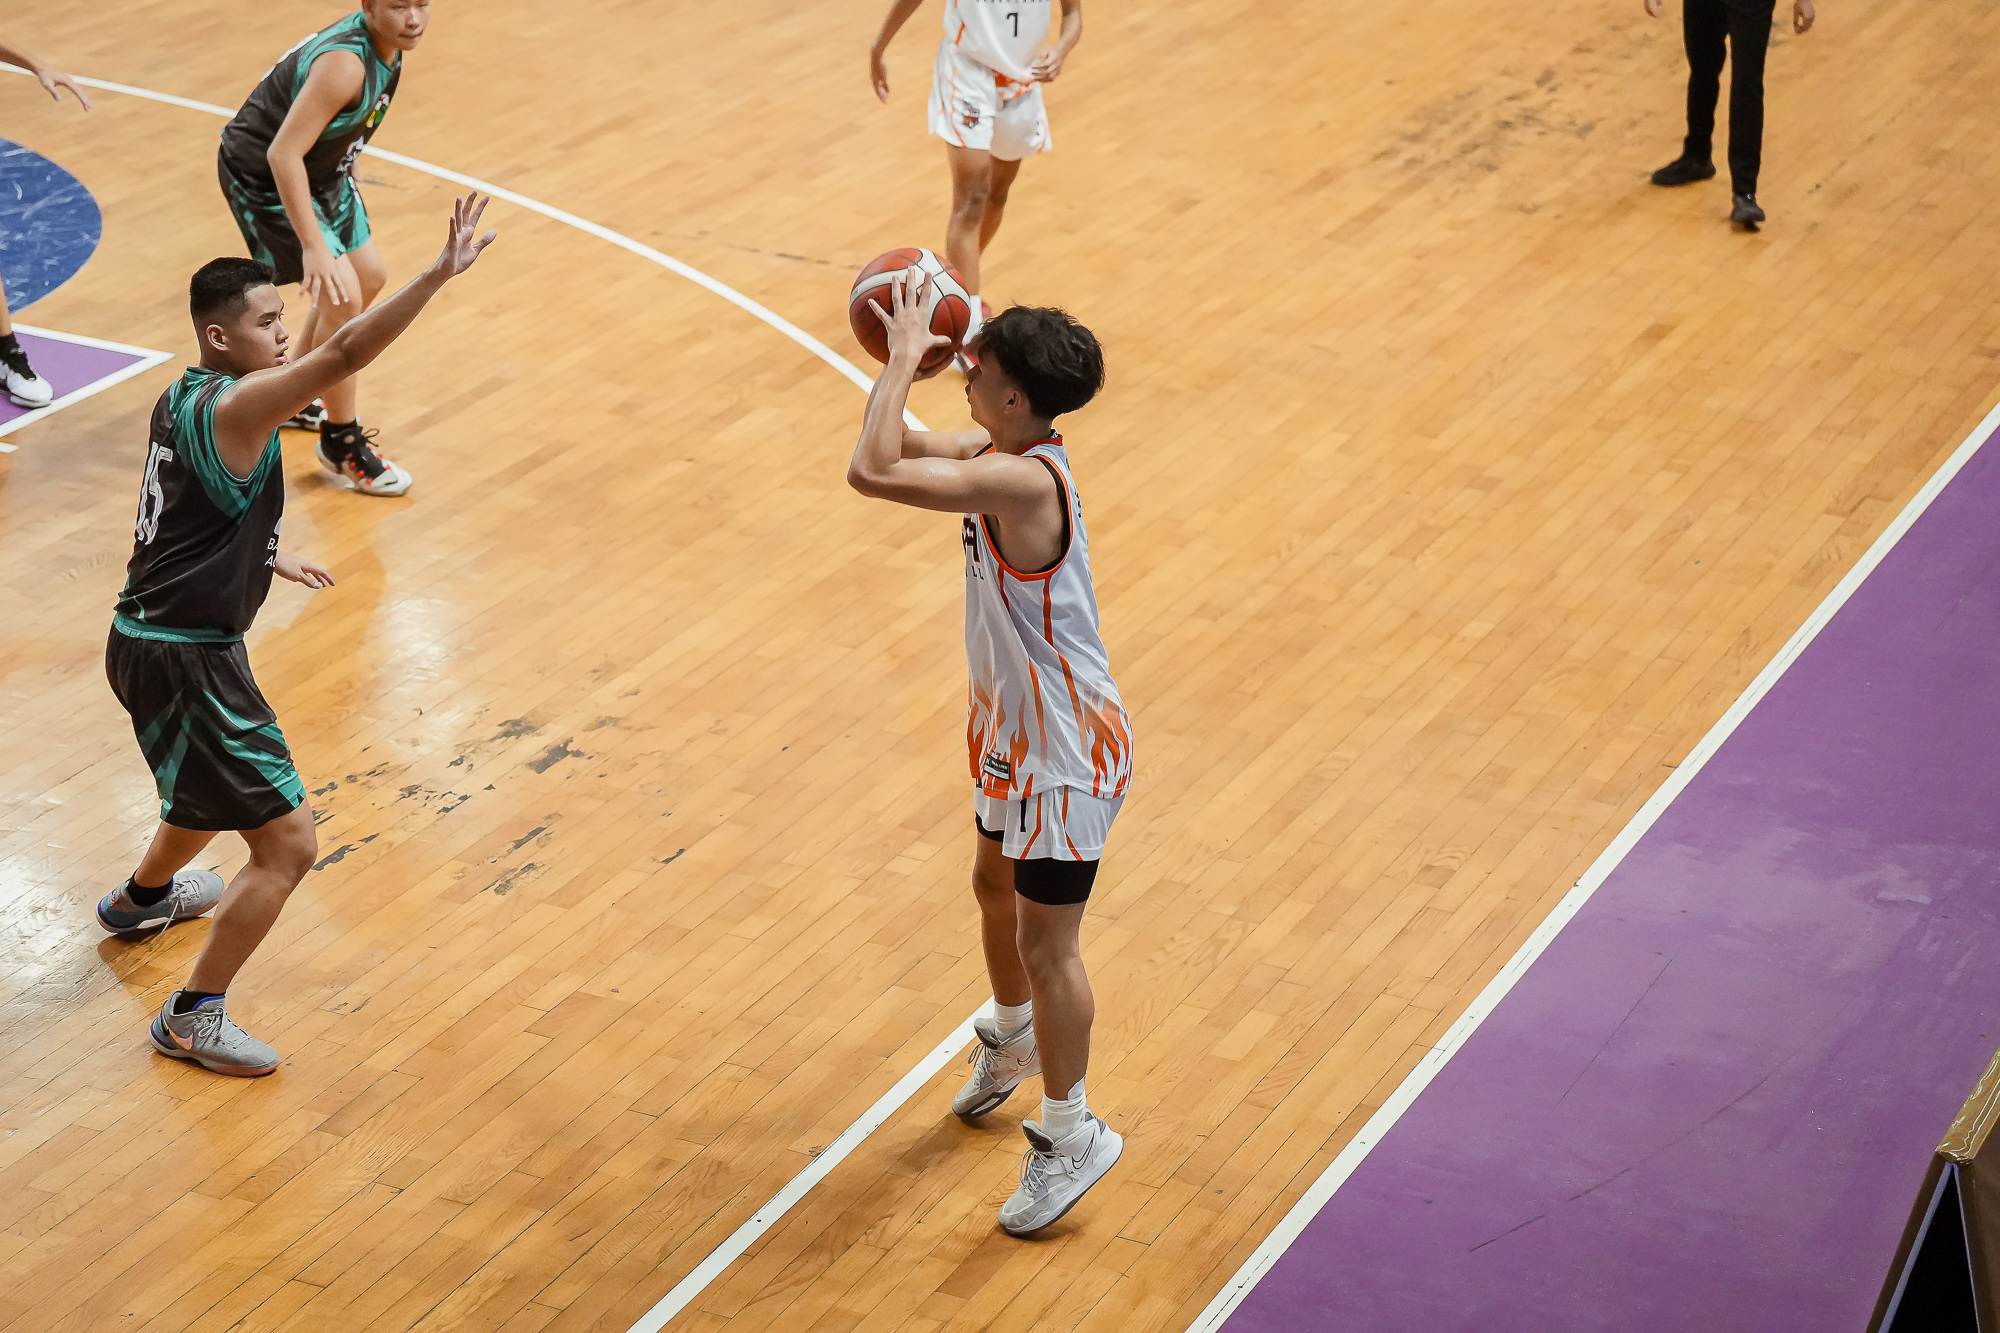
As a basketballer, finding ways to increase the number of shots or buckets you make is not just important to you, but also to your teammates. Moreover, your coach will surely become your best friend once you’re the top scorer. Isn’t that cool?
Coaches want their players to be able to make meaningful shots. Players they can depend on during the final minutes of the game—especially if your team needs to score to win the game.
If you’re ready to improve your shooting skills, then you need to go down to the basics and put more emphasis on your shot mechanics.
6 Shooting Drills To Improve Your Scoring Accuracy
The 1-Hand Drill
This drill involves shooting the ball with the right stance of proper hand mechanics. To practice, you can start shooting against the wall and once 9 of your shots out of 10 are perfect, you can move to shooting through the basket.
To perform this drill, your feet should be shoulder-width apart while keeping it slightly turned. Also, ensure you’re maintaining a good and stable position. Keep your arm in an L shape in preparation to shoot the ball. For your fingers, ensure to push the ball up and out through your fingers.
One Hand Drill With Guide Hand
This is still a one-hand drill but with a guide hand. Since most players often use their guide hand during gameplay, we won’t be letting our guide hands touch the ball.
This is necessary because when you depend on your guide hand, you tend to miss a right or left opening.
To perform this drill, take the position of the one-hand drill and bring your free hand or guide hand close to the side of the ball—not in front or behind the ball. Try not to touch the ball with your guide hand. It is absolutely important.
Make sure you practice this drill 3 to 5 feet from the basket. Try shooting the ball from different spots too.
Note: The next progressions are quite important if you want to become a really good shooter, so you must perform the drills right and with consistent practice.
Ready To Go Shooting Drill
To perform this drill, stand a few feet from the basket and set your arm to 90 degrees. Make sure the ball is in a spot closer to the shoulders.
Next, extend your legs and at the same time, shoot the ball in one single motion. You might not need to jump to shoot the ball.
Ensure you’re doing it right to avoid developing a bad habit that might take longer to fix.
Tuck And Set Drill
This drill teaches you what position you need to be in to shoot the ball properly. Focus on timing. You can get someone to say “Tuck” and you hold the ball with both hands, your body lowered and turned like you’re preparing to shoot. Your hands should hold the ball, taking it back at your left side, while the same side of your foot should take a step back.
Then at “Set”, you bring the ball and your left foot forward in an “S” motion from the Tuck position. Make sure your foot hits the ground as you bring the ball to the set point. You can also practice with your right foot.
Tuck And Go Drill – Starting With Ball
Start with the tuck and set drill above, then shoot the ball in one motion from the set spot. Extend your legs once your foot hits the ground.
Shooting Off The Pass
Once you have gotten a good grip on the 5 previous drills—including the rhythm and timing, you can now take passes and shoot, just like in a game.
At Scholar Basketball Academy, our coaches work intensely with our trainees to ensure they practice properly while making sure they are in the best shape to take shots and shoot when necessary. Fill out the form today to change your shooting game.